You just discovered a compromised server. Your first instinct: turn on the computer, check logs, maybe run an antivirus. If you do that, you're destroying evidence. In a cyber incident, every action can alter the system state. The difference between admissible evidence and trash lies in two things: proper forensic acquisition and chain of custody. We, at Meteora Web, handle incidents daily for SMEs. We've seen clients lose lawsuits because a technician ran a tool on the original disk, or because nobody signed a form. This guide is for those who must collect digital evidence without burning it.
Chain of Custody: The Passport of Evidence
The chain of custody is the documentation proving that evidence was handled only by authorized persons, in an unaltered state, from seizure to courtroom. Without it, a judge can reject the evidence because tampering cannot be ruled out.
Real example: A client – an e-commerce company – suffered a data breach. Their sysadmin made a mysqldump, then ran ClamAV on the live server. Result: file dates modified, system logs dirty, no document proving who, when, how. The lawyer said: “without chain of custody, we won't even use this”. They lost the civil case.
Action now: Define a chain of custody template. It must include:
- Date and time (with timezone)
- Unique identifier for the media (e.g.,
DISK-001) - Description of seized device
- Name and signature of the acquirer
- Name and signature of the receiver
- SHA-256 hash of the acquisition
- Every handover (date, signature, reason)
Forensic Acquisition Principles
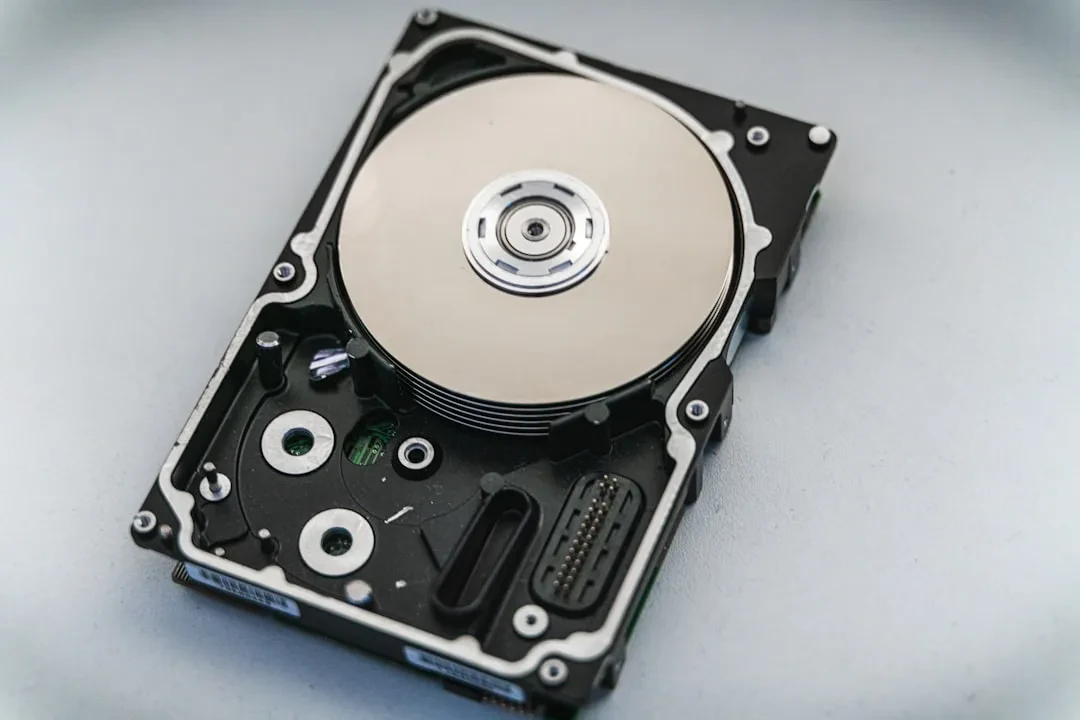
Forensic acquisition is not “taking a backup”. It is a bit-by-bit (bitstream) copy of the original media, using a write blocker (hardware or software) to prevent any modification. The golden rule: never mount the original media in read/write mode.
Bitstream vs Logical Copy
A logical copy (e.g., cp or rsync) copies only visible files, losing slack space, deleted files, low-level metadata. Bitstream copy (dd or dc3dd) captures every single byte, including empty space and deleted items. Only bitstream copies are accepted in court.
Write Blocker: Mandatory
If you connect the suspect disk to a normal OS, the kernel may write data (e.g., atime, mount logs). A write blocker (e.g., Tableau, Wiebetech) physically blocks write commands. For virtual/cloud environments, use software write blockers (e.g., readonly snapshots, safecopy).
Practical example: A compromised Linux server. Instead of powering off, we booted a forensic live CD (Kali Linux in forensic mode) and attached an external drive via a hardware write blocker. We ran dc3dd to clone the system disk to an .E01 file (EnCase format).
Tools for Acquisition
Here are the tools we use daily:
- dd / dc3dd – native Unix, dc3dd adds progressive hashing and logging.
- Guymager – GUI for Linux forensics, supports E01 and DD.
- FTK Imager – on Windows, creates forensic images and captures RAM.
- Magnet RAM Capture – for volatile memory (critical!).
Step-by-Step: Disk Acquisition with dd (Linux Forensics)
Assume we have a suspect disk connected as /dev/sdb. The live system is a forensic distribution (Kali, CAINE).
# 1. Identify disks (be careful not to target the wrong one!)
sudo fdisk -l

# 2. Compute hash of original disk before touching
sudo sha256sum /dev/sdb > /acquisitions/original_hash.txt

# 3. Acquire with dd, showing progress (no write)
sudo dd if=/dev/sdb of=/acquisitions/disk_image.dd bs=4M conv=noerror,sync status=progress

# 4. Hash the newly created image
sha256sum /acquisitions/disk_image.dd

# 5. Verify: compare hashes (must be identical)
cat /acquisitions/original_hash.txt
Note: conv=noerror,sync continues on read errors (fills with zeros). Never use conv=notrunc unless you are certain.
For a forensic format with compression and metadata, use dc3dd:
sudo dc3dd if=/dev/sdb of=/acquisitions/disk_image.dc3 hash=sha256 log=/acquisitions/log.txt
This produces a log with per-block hash and a final hash, making verification instant.
Volatile Memory (RAM): Capture Before Shutdown
RAM contains running processes, network connections, encryption keys, active malware. Power off means losing everything. Capture RAM before any other operation on the live system.
Tools: Magnet RAM Capture on Windows, LiME (Linux Memory Extractor) on Linux, FTK Imager can capture RAM on Windows.
Example with LiME on Linux
# Download and compile LiME on the target system (cautiously)
# Better use a pre-compiled module for the kernel.
sudo insmod lime.ko "path=/acquisitions/memory.dump format=lime"
Then analyze with Volatility or Rekall.
Common mistake: forgetting to capture RAM before running any other command. Every command modifies memory. Have a predefined flow: RAM → network state → disk.
Chain of Custody Documentation
Every action must be recorded. We use a digital form signed with electronic signature, but pen and paper work for non-digital evidence. Required elements:
- Date and time of start
- System description (hostname, IP, MAC)
- Original media: model, serial number, capacity
- SHA-256 hash of original media (before copy)
- Hash of the created image
- Name and role of the operator
- Handover signatures
Example log entry:
2026-03-15 14:32 UTC | DISK-001 | Seagate ST1000DM003 S/N: Z9A1B2C3 |
Original hash: a1b2c3d4... | Image: disk001.dd | Image hash: e5f6g7h8... |
Operator: John Doe (Meteora Web) | Handed to: Atty. Smith
Common Errors That Invalidate Evidence
- Mounting the original disk in read/write: even a single access alters atime and may produce system logs.
- Using proprietary tools without documentation: if you can't explain what the tool does, the judge may doubt.
- Not computing hashes before and after: without hashes, you cannot prove the image matches the original.
- Ignoring volatile memory: many pieces of evidence exist only in RAM.
- Not stopping when you make a mistake: if you accidentally modify something, document it honestly. A documented error is better than fake perfection.
In a Nutshell — What to Do Now
- Prepare a forensic kit: forensic live CD, write blocker, cables, blank drives (zeroed), paper chain-of-custody forms.
- Define a protocol: RAM first, then network, then disk. Do not deviate.
- Run a simulation: on a test system, perform a full acquisition and document it. You'll find gaps.
- Train your IT staff: one oversight can cost a lost lawsuit. Invest in half a day of hands-on training.
- Store forensic images safely: encrypt with GPG, store in a protected location with access control.
We, at Meteora Web, have integrated these procedures into incident response plans for many clients. Forensics isn't just for big enterprises: even a small business can be attacked and need to prove damages. For deeper context, read our guide on Advanced Phishing – often evidence starts with a deceptive email. The chain of custody begins with the first click.
Sponsored Protocol